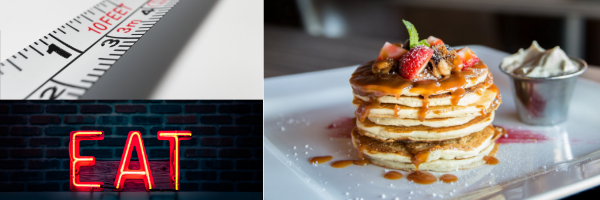
HOW TO LOOSE FAT AND STILL EAT WHAT YOU WANT? – TIPS part I: MY STORY

Hello loves and happy Monday!

Summer is almost here and probably a lot of you are thinking… “omg I should have started to diet earlier and do that 30 days brazilian butt challenge! I’m not ready for summer and definitely not bikini ready!”.

First of all you’re beautiful! And even if you don’t feel like it you’re definitely bikini ready!

But this post is not completely about body acceptance which is quite a tricky subject. This is a story of how by counting macros I lost over 3,5 kg of stubborn fat and how I was and still am treating myself with yummy food daily!

This is my story

I’ll start with explaining you that I was never really chubby, fat or overweight, but I hope no matter the size you can emphasize with my personal struggles.

After high school I stopped exercising because I hated it. As a kid I always ate what I wanted and never had to watch my weight. I was always “in shape” without having to move my body until… As I grew older and became 21 I started to take pills to balance my hormones. I noticed that my appetite grew and my body didn’t work so smooth with food I chose to eat anymore. 2 years later I met my boyfriend and he cooks so well! gosh! haha. He was treating me with delicious food and we went out for a lot of dinners. I tried to get into gym and exercising but still hated it. I noticed that my body’s changing and my belly becomes fluffy and big, my waist started to disappear. I didn’t really see it right away. It’s been happening for a long time gradually. The last year of my art academy I knew I had to do something, because I didn’t feel good with my body anymore. Meanwhile I tried many different diets and detoxes, but it only made it worse! I was so hungry and sad all the time. Of course I gained back the weight (and some more) almost instantly.

I’ve heard about macros before but it all felt so complicated! I have to weight everything? And how much should I eat? I don’t want to gain more weight!

That time in my life felt like I was in a circle. I tried to get into exercise but couldn’t manage my food in the same time. When I tried to manage my diet, going to the gym felt like a punishment.

Slowly I started to get into weight lifting and exercising with the guide and later app of Madalin Giorgietta. I really liked her and the whole community of workitwomen. I decided I’m gonna do it for my own health and future self not just to loose weight. That moment you can say I really got into working out! Finally!! Which I still cannot believe. haha! Now I feel great and love going to the gym! I go religiously 3x a week.

My diet was really bad though. A lot of stress made me binge on my favorite chips and pasta. After I got my master’s degree and had more free time I started to read more about macros and how to count them. I was still really confused. I was getting frustrated and knew if I want to feel comfortable in my body as I used to before I need to change my eating habits.

SO HOW TO LOOSE FAT???

Now I want to share with you a secret, that so many people ignore or just are afraid to believe it’s so simple! To loose weight you just have to stay in caloric deficit. It means to eat less than you burn! You can eat anything you want as long it fits your daily calories in this fats, carbs and protein.

I know it sounds confusing and for me It wasn’t easy either. But slowly and steady I learned and read as much as I could. I joined the fantastic group on fb Macros.Inc and with the help of personal trainers there and the calculator on their website I knew exact calories, grams of proteins, fats and carbs I should eat to loose that stubborn fat.

And believe it or not, IT’S WORKING! I’m still a little far from my goal but I can see so many changes in my body! Clothes fit better and I’m starting to see muscles on my body I never knew existed! It’s a wonderful feeling to know I found my way through love of exercise and nourishing my body with tasty foods to achieve my goal!

I’m sure you’re asking, but how do macros actually work? In the next post I’m gonna explain everything you need to know about macros.

Follow my blog to not miss out on new posts!

xx, Olita


find me on instagram

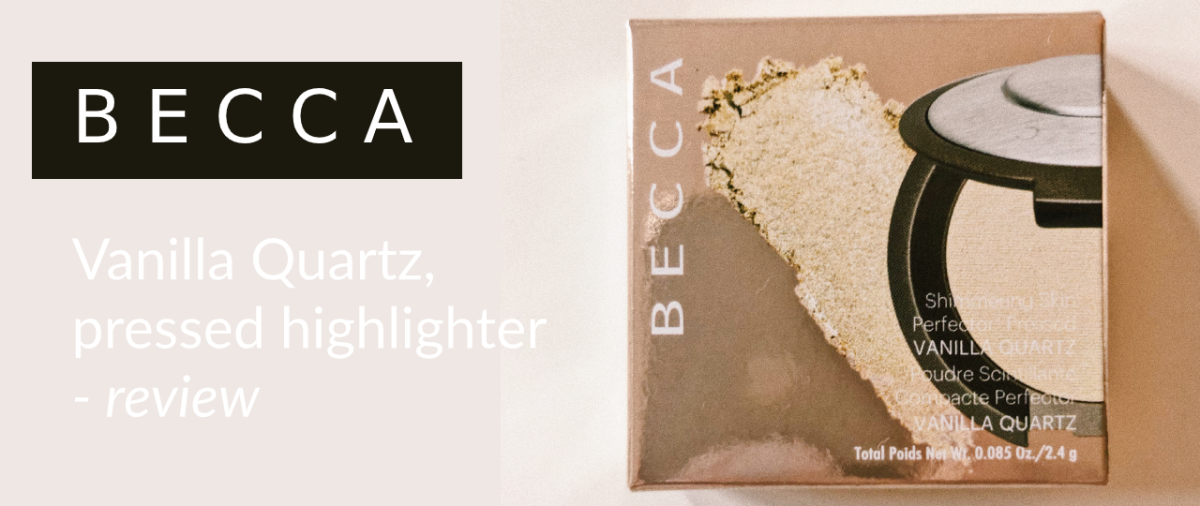
Becca Vanilla Quartz, pressed highlighter – review

Hello Loves and happy Monday!

Today I’m gonna review Becca Shimmering Skin Perfector Pressed Highlighter in a new shade Vanilla Quartz.

I purchased it recently in Sephora in a mini version. I wanted Becca highlighter for so long, but I wasn’t sure about any of the shades for my pale complexion. Then I saw they added new color and this one seemed so perfect!

One swipe on the hand, you can see how pigmented it is!
After blending with my finger. The formula is so creamy! Blends so easy!

First of all, beside the amazing light champagne colour with gold and rosy undertones, the formula is incredibly soft. The powder is creamy which makes it amazingly easy to blend. You can apply it with a brush or just your fingers as sometimes I like to do and later blend it with a beauty blender. It looks amazing on bare skin bringing it to another level of looking healthy and glowy. But of course most of us is using it with other make up products which just makes our cheekbones to pop!

I love this highlighter and I’m so happy I finally got it!

Let me know in the comments how you feel about Becca’s famous highlighters and which is your favourite shade!

xx, Olita


find me on instagram

1000 FOLLOWERS!!! Big Thank You, Q&A, You Pick Next Posts & Instagram Follow Back! 

Loves! I don’t know how to thank you enough for this huge milestone on my blog! It’s been wonderful journey for me. Sharing all the things I love and my all experiences with you! I feel so honored to have such a wonderful family of 1k! I’m so thankful for all your likes and comments and sharing your stories with me. It’s been so amazing to know so many people enjoy my blog and coming back for each new post.

I remember like just a few weeks back, May 16th to be exact, I was celebrating 500 followers. And now with beginning of July there’s already 1000 of us! I can’t believe it!

So lets our little tradition of making Q&A, to celebrate welcoming new members of family, live further!

Loves, this time don’t be afraid to ask anything at all! Private, intimate, less private stuff, advice, tips! Whatever you wish to know! I’ll answer all your questions, of course if I know the answer!

Also! Please, if you wish for me to do some post on special subject, review of special product, another ootd, more fashion, less fashion, more favorites products or even a video of some kind, I’ll be greatful for all the suggestions! I want to know what you would like to see! You know yourself already what kind of stuff I choose to write about so maybe you want to see something new??? Let me know! I’m so curious to find out!

BONUS! In the comments leave your suggestions! Follow my Instagram account and I’ll follow back 10 winners! 

MY INSTAGRAM

xx, Olita


contact me: instagram|twitter|youtube|pinterest 

Getting A Tattoo? My story & Helpful Tips 

Hello Loves!

Have you ever thought about getting a tattoo? You really want one but you have no idea what to get inked? Or maybe like me, you wanted one for a very long time but final decision if to do it comes and goes in waves?

Well, here I am for you, to tell you my story and give you some tips that will help get through this experience as painless and pleasant as possible. I’ll answer all your questions you may have and hopefully it will help you to make the big decision!

Let’s start with the story, shall we?

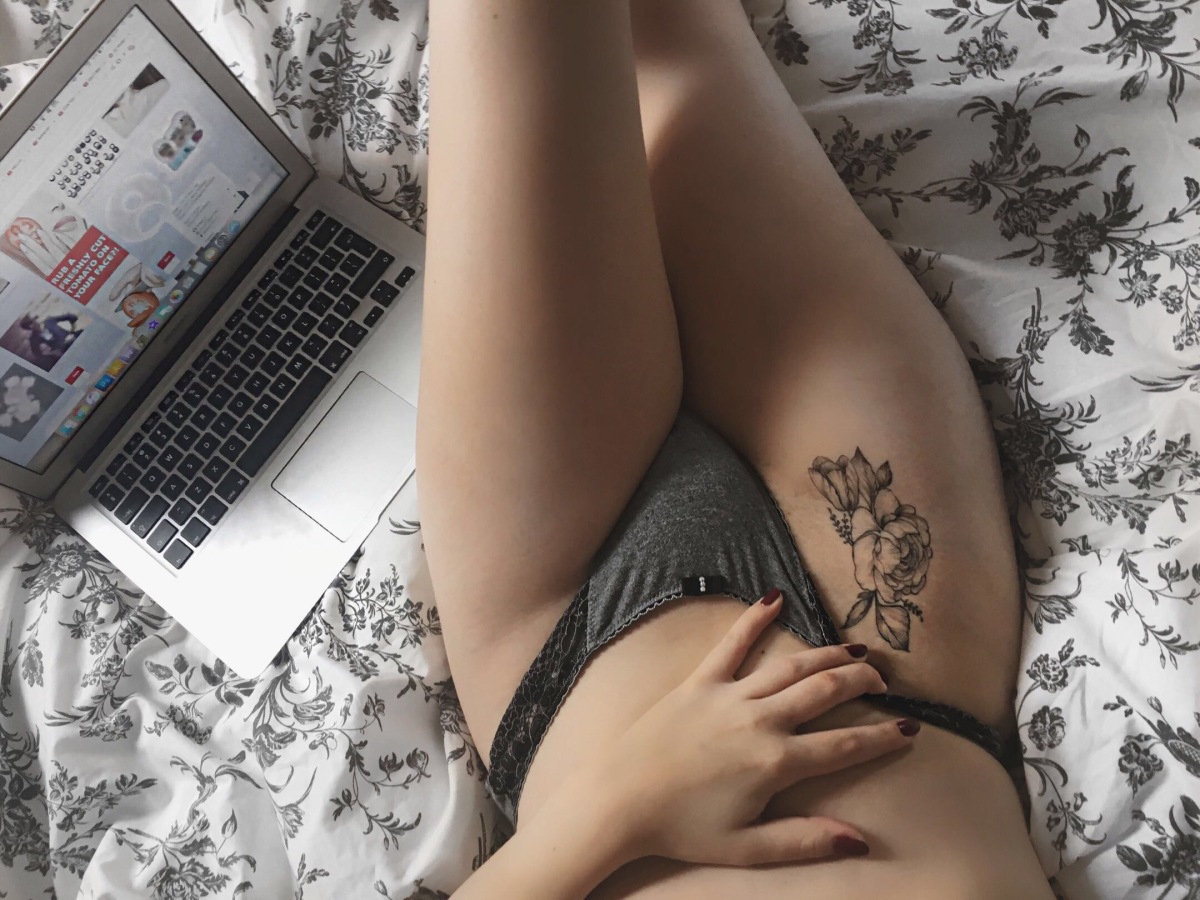
I wanted to have a tattoo since I was 13. I was a huge Johnny Depp fan, so you kinda understand. Although I didn’t know what I’d like to have tattooed. 13 was too young to get anything that permanent which I understood. When I was 17 I was thinking about getting a sparrow. That time (for a few months) I believed I’d never have better idea and I wanted to get it asap. I’m very impatient in general, probably I was even more in my teenage years.  I told my parents. They said: Ok, but wait a year. If you’ll still want this tattoo after that time you can get it. Against my impatience, I thought it was quite a good idea. So I waited. Few months later I stopped even thinking about it. I wasn’t sure if I want it anymore. When I was 21 I was so relieved I didn’t decide to do it. I wouldn’t like it. But 1 year later I started to think about having a tattoo again. This time feeling was stronger than ever. I just came back from a trip to New York and I fell in love with the city that much, without any doubt I knew that design had to be related with this place. I was sketching and trying what I would like the most. Hundreds of ideas went through my head. I decided to make it simple and quite small. I always knew my tattoo has to be descreet. After all, it was just for myself. The other rule was that it had to be mine project, 100% my drawing. Finally I decided to get just the contour (clear, simple black line) of the NY state with little black dot where NYC is. I thought I was a genius. Again, the best design I ever thought of. That I will never get bored of it and I’d love it forever. Well… as you can see on the cover photo I don’t have it. I have a flower motiv with peonie and tulip. I’m still thinking about some New York tattoo, but I want to give it a time. To make it more special I wish to do it there, when I’ll come back. As for the tattoo I have, its story starts when I met my boyfriend. He showed me he has tattoo in the same place. He did it when he turned 18. Didn’t tell anyone. He did it because he wanted it and didn’t think this through too much. I don’t think he regrets it, though. Maybe someday he would like to change it a little bit, but i believe he’s happy with it. So then I knew I had to have it in the same place. I started to go through pinterest for hours. Suddenly I saw tattoos with flower motiv and I fell that’s is! I was ready! I had the chosen place on my body, the design and the time felt right! I started to sketch again. Before, I read a lot about different kind of flowers. They’re meaning and history. I chose my favorite one which is peonie and decided to pair it with tulip which represents my boyfriend. He’s from Netherlands.

I got this tattoo made by my friend from my Academy. He’s super talented. Recently, after graduating he got into doing tattoos. I trusted him a lot and I knew he will be the only person I want to get tattoo from. The price was also funny since he was just  around a year in business and we knew each other. He did such a great job I couldn’t believe it! I love that tattoo and I couldn’t be happier I got it! It’s very feminine, kinda retro and delicate. Also it is very symbolic and looks exactly how my sketch!

Let me know how you like it!

TIPS:

  1. Before appointment meet with your tattooist few times (or as much nessecary) and talk about the project, show him/her your drawings if you have some and just talk the ideas through. It will stay on your body forever so you better be sure what you want! If you feel hesitance don’t do it. Wait a little. Nobody is pushing you. Do it in your own time when it feels right.
  2. Choose your tattooist very wisely! Whatch his/hers art and see if his/ hers style matches your idea. Everyone has their own style or preferred things they ink so you have to be sure you like it!
  3. Bring distraction(s)! For me watching youtube from my phone really helped.
  4. How much it hurts only depends on your personal pain level also the area of your body you decide to have a tattoo. Bone areas hurt the most.
  5. Eat well before appointment. Bring some drinks and snacks.
  6. Wear comfortable clothes.
  7.  First moment hurts the most, then you get used to pain. It’s not that bad I promise.
  8. Before getting tattoo buy some cream to use it later and help to heal the place. (for example: Bepanten, Alantan).
  9. When you’re done leave your tattooist a tip.
  10. After getting tattoo don’t let the place be wet. Protect it in a shower with some foil and tape.

That’s all Loves! Let me know what you think about tattoos! Do you like them? Would you do it? Or do you already have it? What is your dream tattoo?

Do you have any questions? Ask away! ❤️

xx, Olita


contact me: instagram|twitter|youtube|pinterest 

How To Clean Your Makeup Brushes & Beauty Blender? Easy, cheap DIY

Hello Loves and happy Monday! That means it’s time for another post on Olita’s blog!

You probably read the title and you thought to yourself “I should wash my brushes…”. I know very well it’s hard to find the time for washing our makeup tools in our busy lives, but we all know how super important it is to keep our face free from any germs that later cause our skin to break out.

I’m here to share with you my tip how, with just two simple ingredients, you can deeply clean your brushes and beauty blender. The secret is Coconut Oil. Yes, that’s it! We use it for everything; to cook, bake, moisture our skin, as makeup remover and many more.       I love it! I have a huge jar in my kitchen and a smaller container in my bathroom for everyday use.

Let’s get straight to the DIY, shall we?

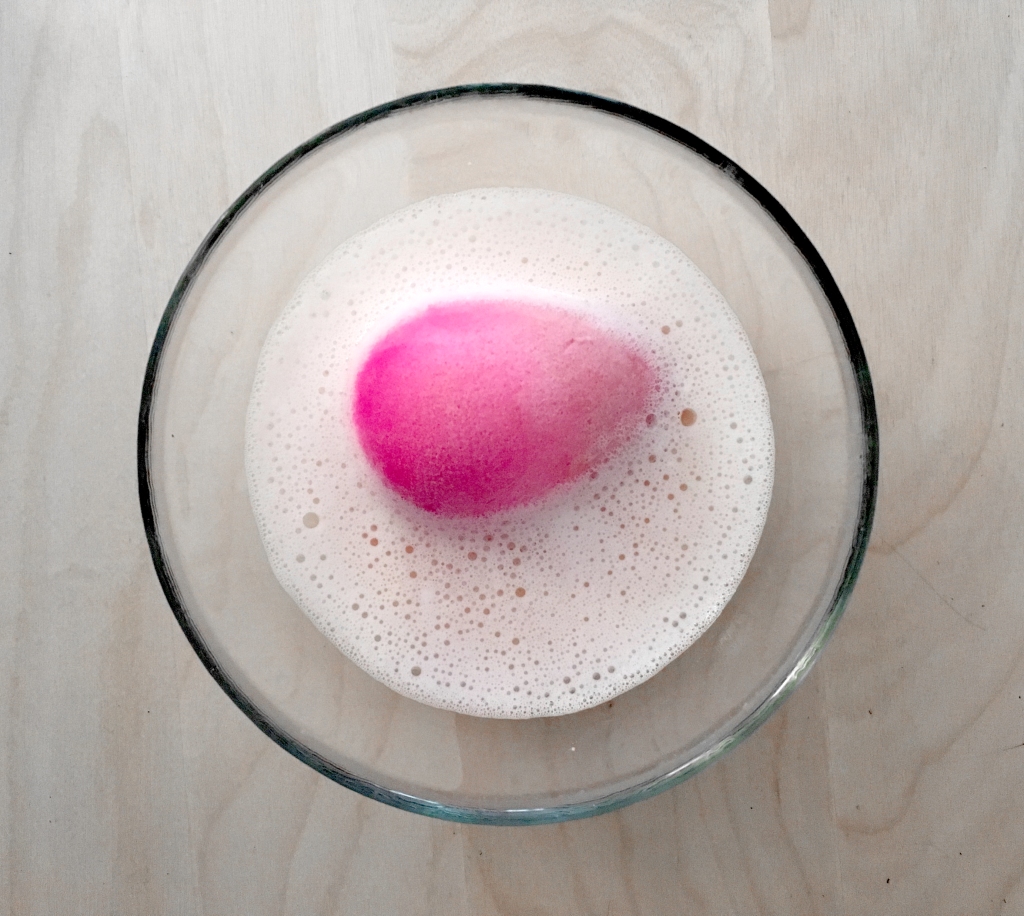
For my Beauty Blender I use a solution of one tablespoon of coconut oil and two tablespoons of antibacterial liquid soap. First I put the oil in a glass bowl and warm it up in a microwave, just for 15-30 seconds to help it melt. Then I add soap and mix. (Sometimes I add some warm water to the solution when I see that my beauty blender is not that dirty. When it is though, I just use more oil and soap.) I put my Beauty Blender in the bowl and squeeze it few times. Then, rinse under warm water. In that moment you can already see how well solution works. After “pre-wash” I leave it in mixture for a few hours more.

3

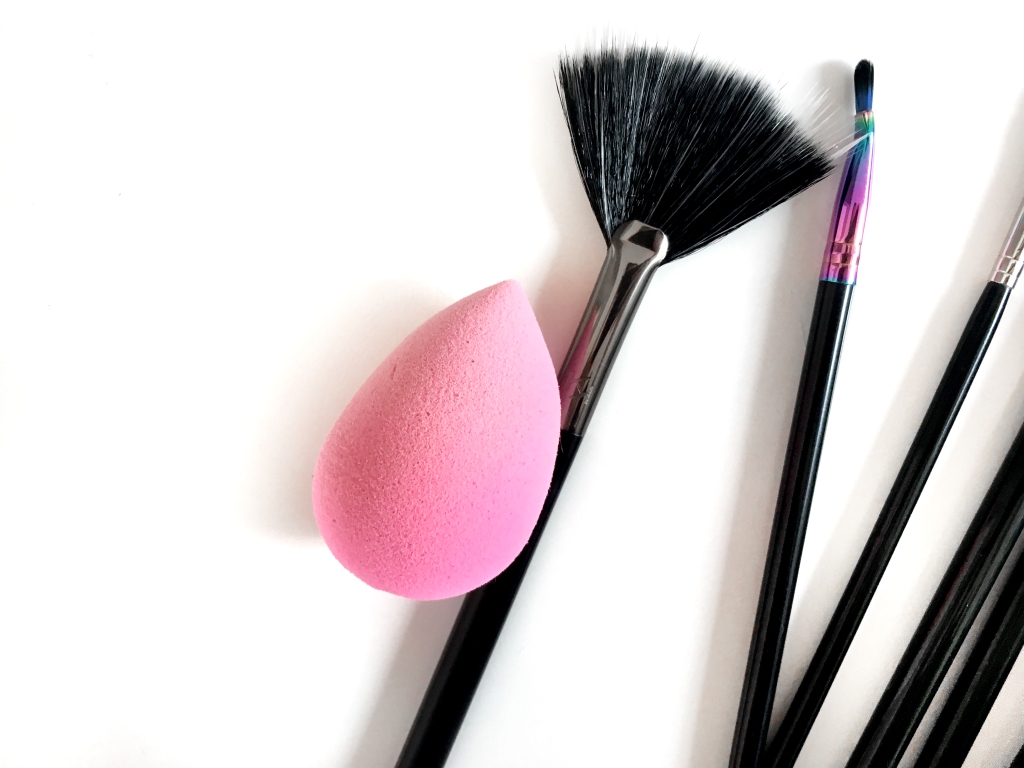
After it lay a decent amount of time in its bath I rinse it under water. To not let bacteria get to the drying sponge I put it in microwave for 10-15 second and wait. If it’s still wet I repeat. And that’s all!

6

Let’s get now to brushes!

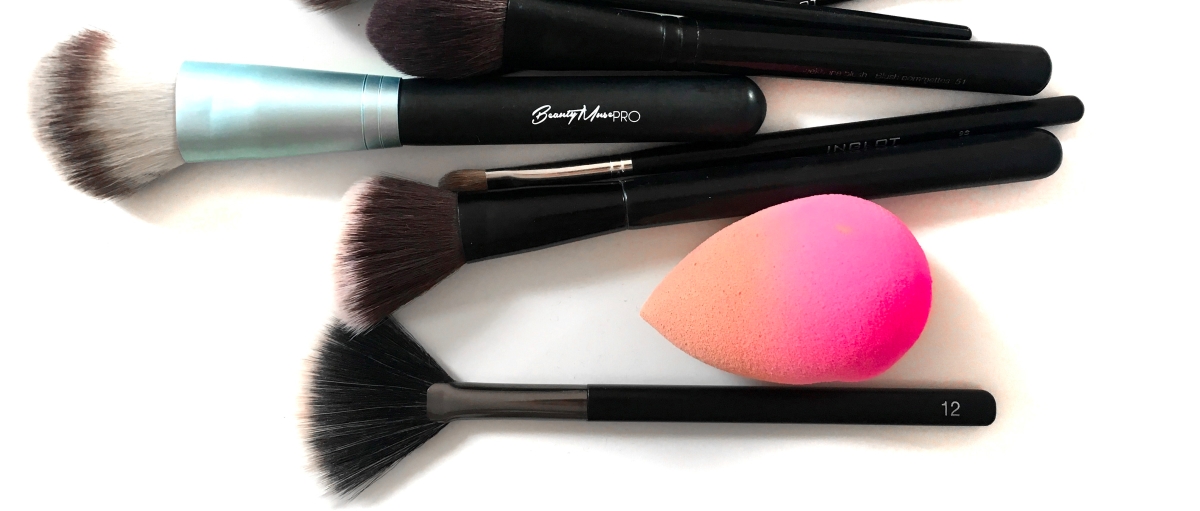
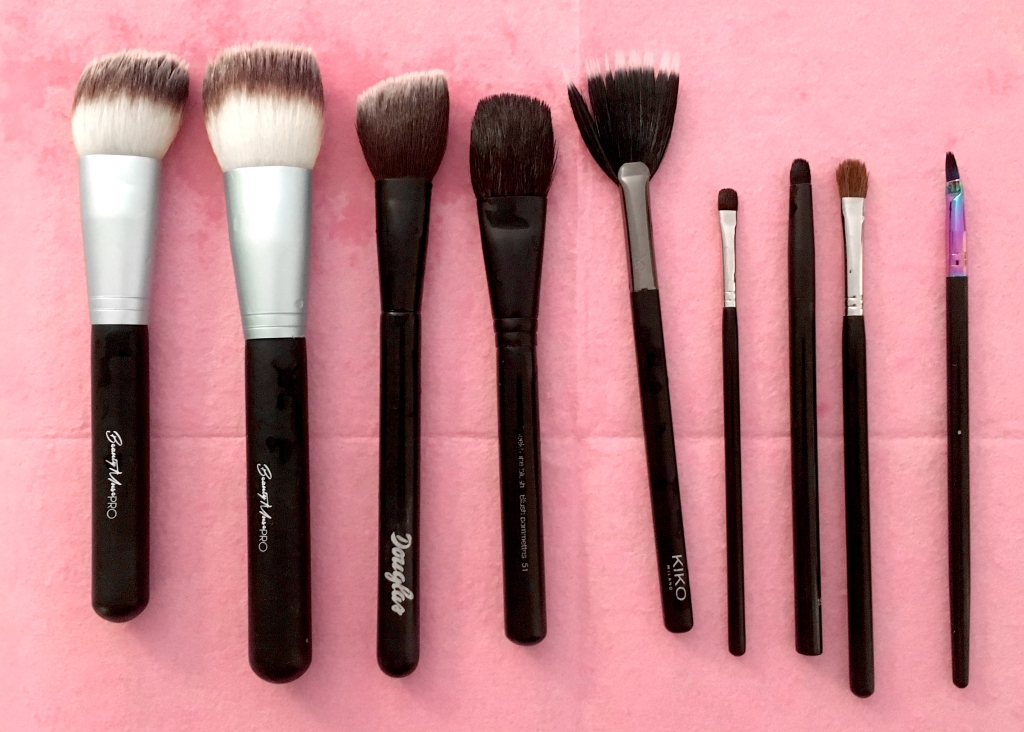
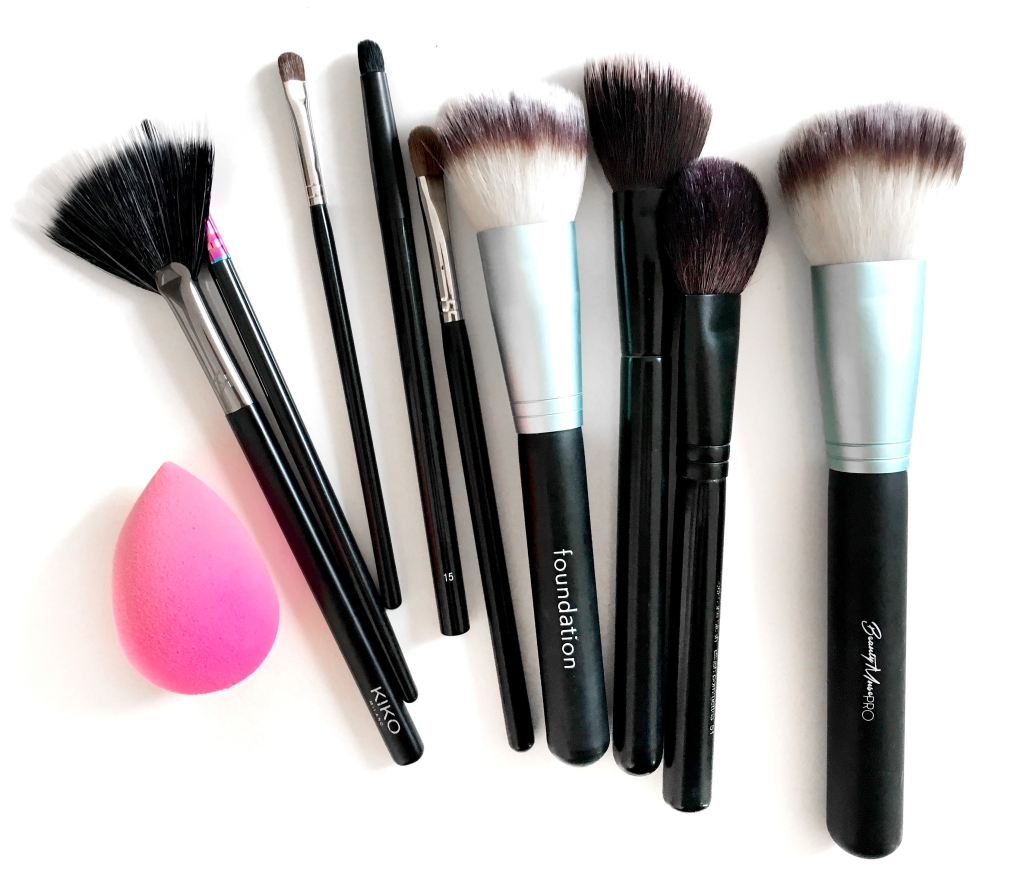
I try to clean them as often as I can. When I use foundation brush I wash it after every use. The other brushes once or twice a week. Sometimes more often. Depends how mush I used them that week.

To clean those babies cleansing mixture is the same as for Beauty Blender. I just prefer instead of a bowl use a plate. I dip brush in oil-soap mix and, to not make it dirty, I clean it on my hand. With the circulate motion I swirl brush on my hand and then rinse with fresh warm water. Depending how dirty it is I repeat the step until foam is 100% white.

4

I always let them dry laying on a flat surface, because if I put it in a mug the glue that holds brush together will slowly dissolve and that will brake the brush. And we don’t want that, do we?

5


And here you have it loves! Hope it helps some of you save some money if you were going to buy some special makeup brush cleanser. Just two ingredients and your brushes are perfectly clean!

Was it helpful? Do you have some other ways to clean your brushes and makeup sponges? Let me know! I’d love to read your hacks!

xx, Olita


contact me: instagram|twitter|youtube|pinterest 

Everyday Personal Jewelry

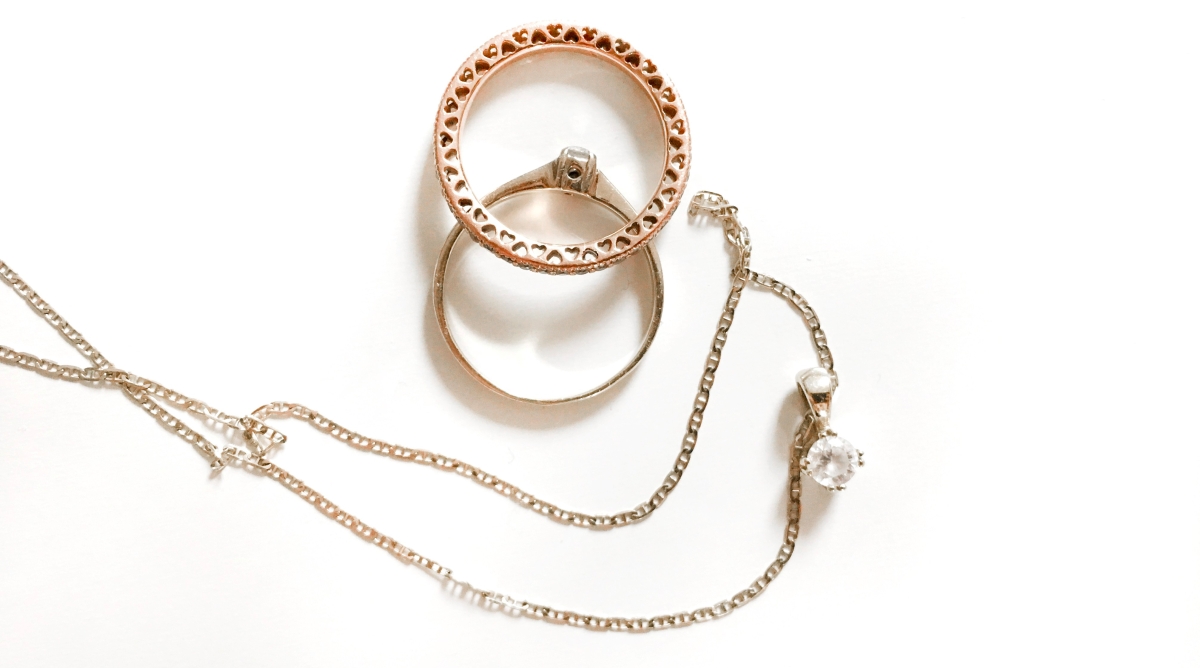
Hello loves! In this post I wanted to share with you some of my jewelry pieces that I love and wear everyday. Honestly – I don’t even take it off! Because of that, they became the accessories that somehow make any outfit more me. All the pieces feel very special and personal since they were given to me by my loved ones. Each of them was a gift for a different occasion which also bring a lot of lovely memories.

I think it’s a great way to personalise your style and everyday outfits in the same time adding a little bit of elegance and shine.

I always pick gold as the main color for my jewelry (sometimes going also for rosegold). With neutral/warm skin undertone personally I feel better in “gold-ish” shades. Silver is perfect if your skin is cold undertoned and gold complements better a warmer complections. Though, in my opinion: Who cares?! Wear what you love and what you feel best in!

LITTLE DIAMOND RING

1

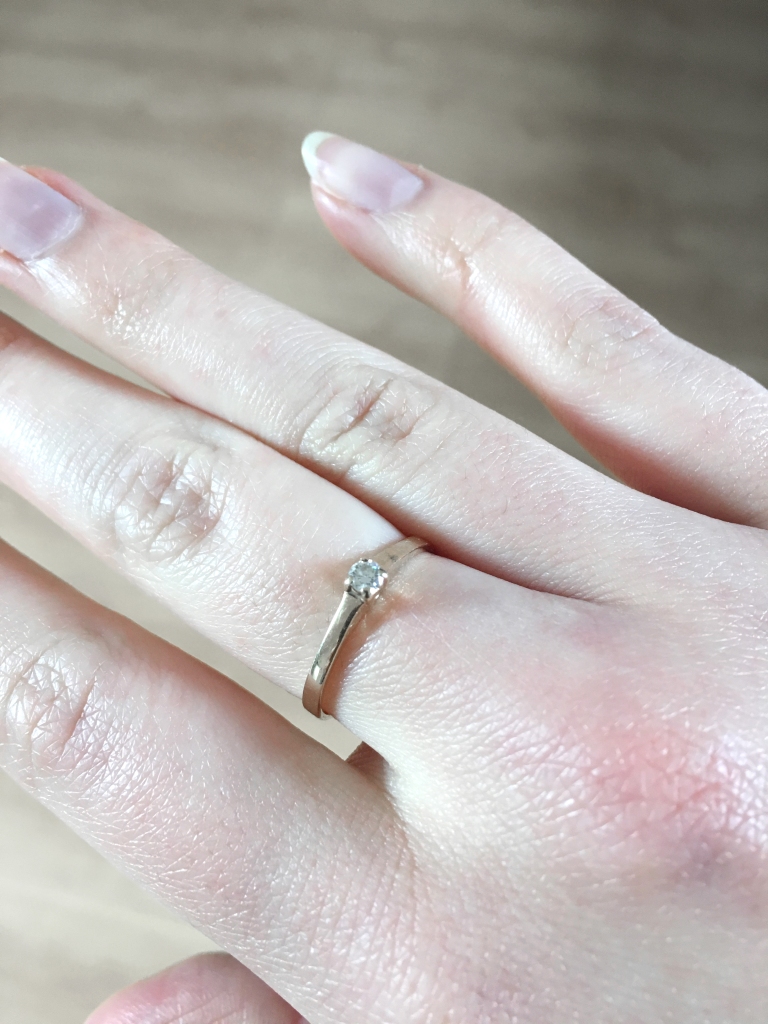
This little ring I was given by my godparents after finishing high school and starting my adult life in Academy of the Fine Arts. I put it on this very day and never took it off! People always ask if it’s an engagement ring (wrong finger!). It was funny for a year… five had past and it’s still favorite joke of any stranger I meet.

3

ROSEGOLD BAND

7

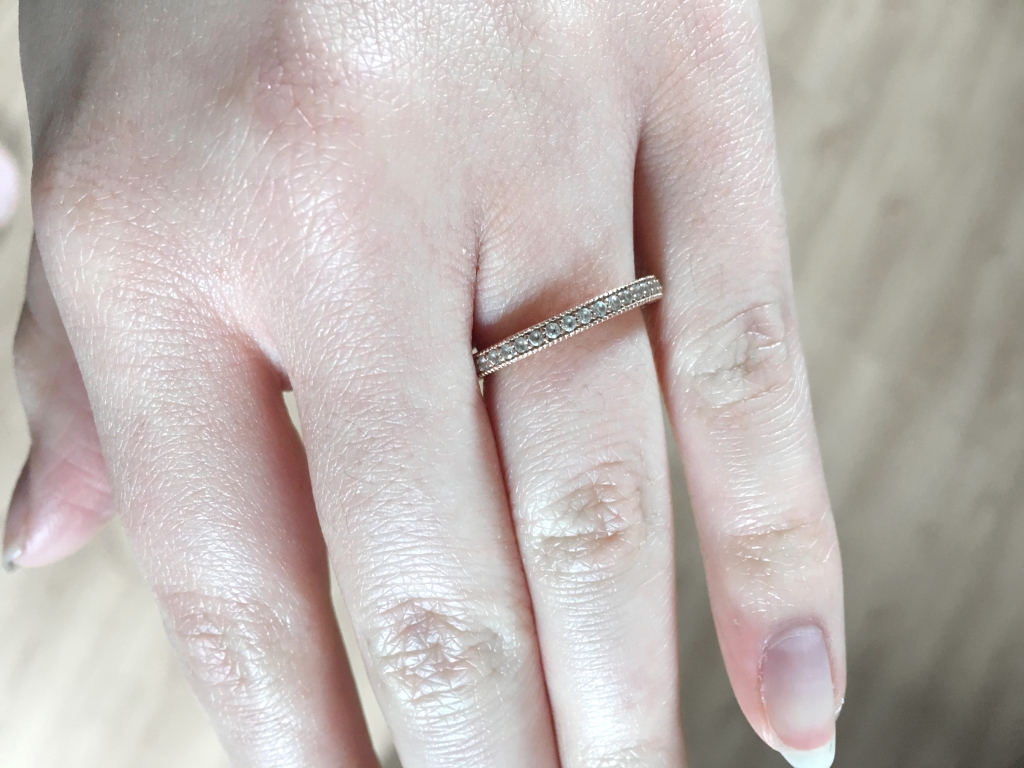
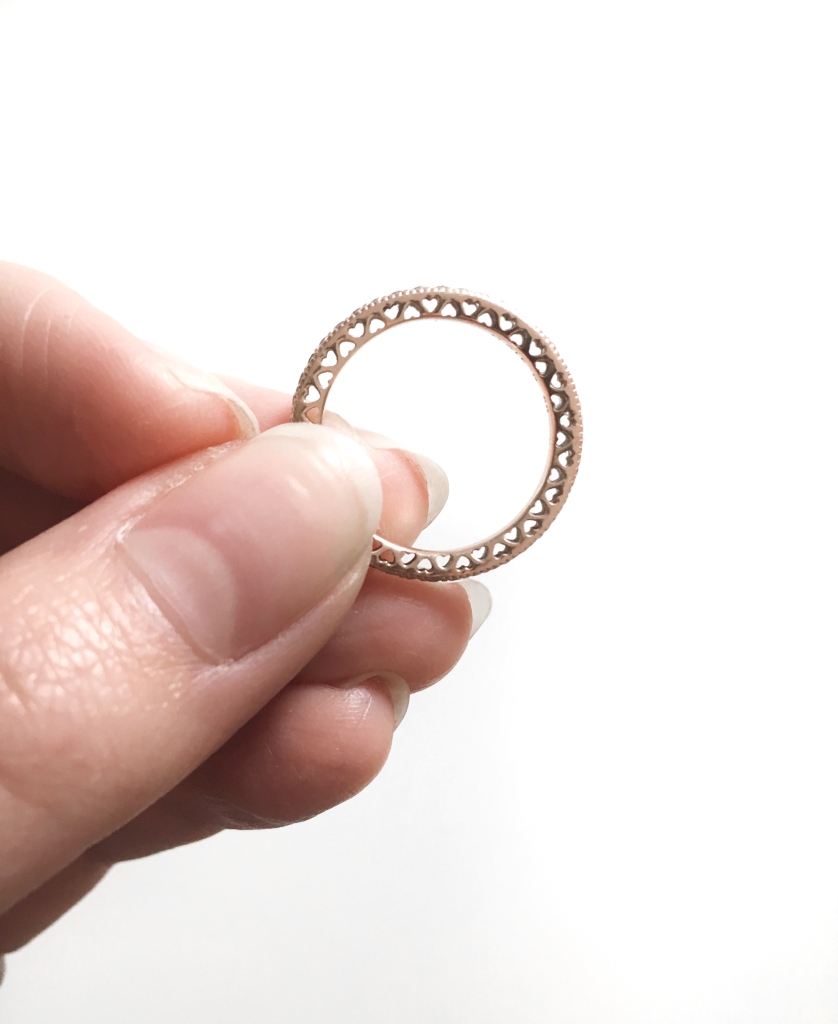
This precious one I got from my boyfriend last Christmas! I put it on my left hand since I already had the first ring on right one. I love it because it’s really sparkly when the lightning is strong and it has such a sweet, delicate heart detail going all around the side of the band.

2

GOLDEN NECKLACE

4

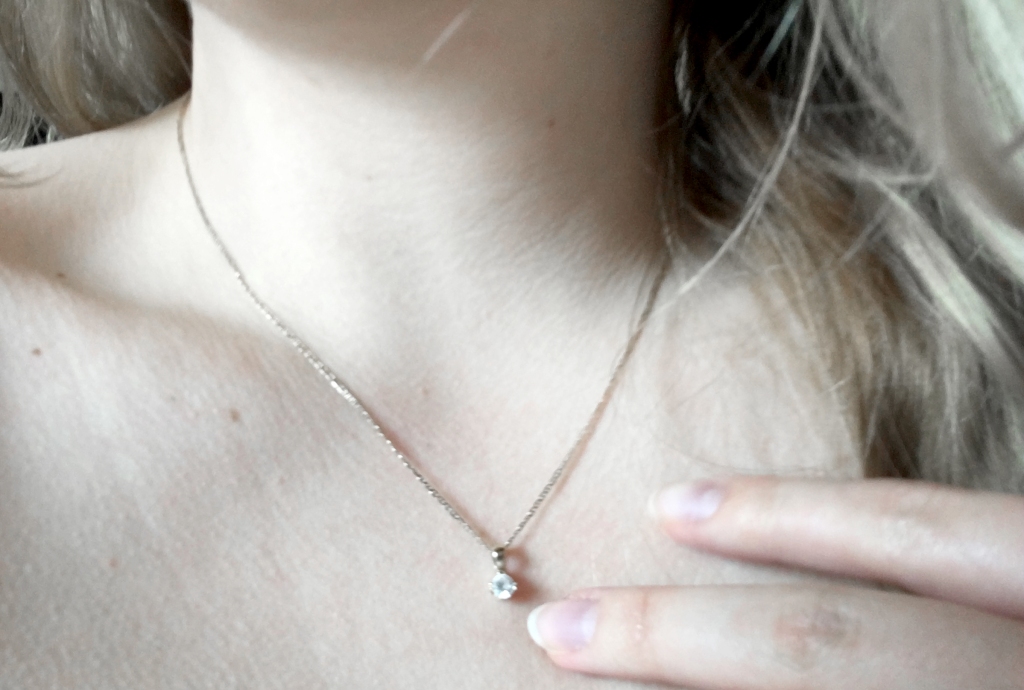
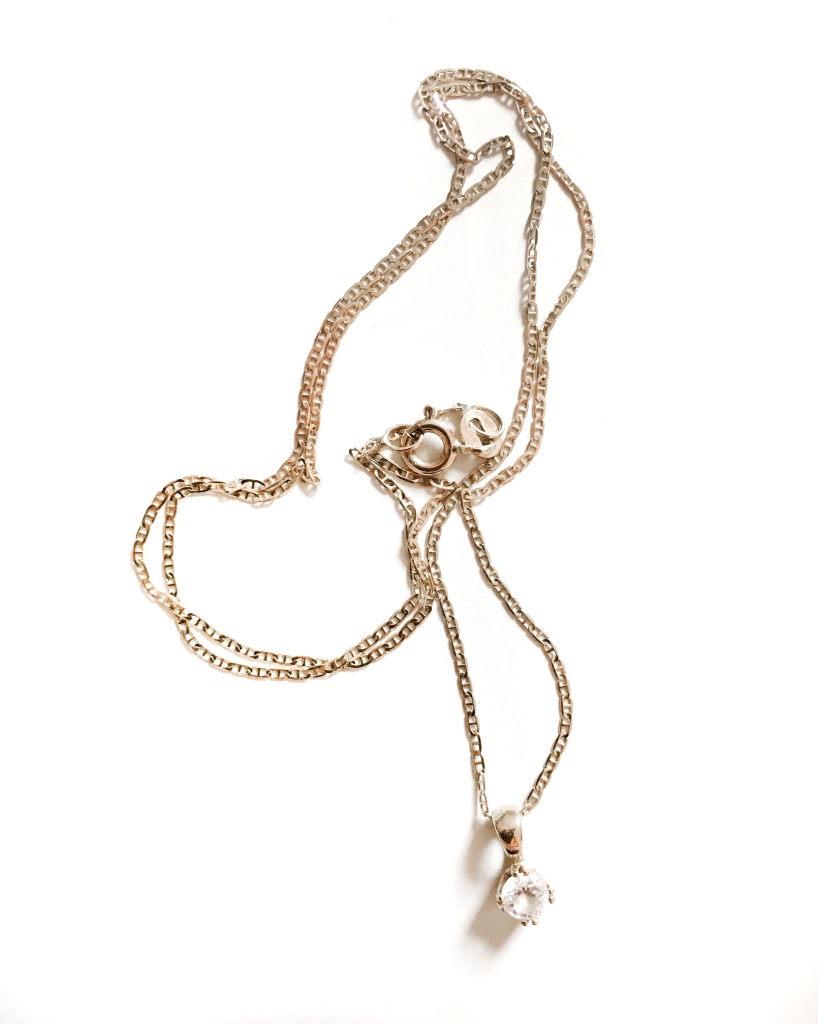
This one I got from my boyfriend a year ago. I was looking for a very delicate and small everyday necklace and one day when I found a perfect one he decided to surprise me.

5 copy copy

I hoped you liked this post and maybe found some inspiration to find your own personal piece of jewelry! Or maybe you already have one? Or more than one? Share with me in the comments!

xx, Olita


contact me: instagram|twitter|youtube|pinterest 

Comfortable heels? Yes! They exist! (+ tips)

Hello loves! In the last post I shared with you simple items for upgrading your outfit and one of them were heels. In this post I wanted to show you that those few inches of height don’t need to be uncomfortable and you can just rock them all day long without pain!

The secret is in purchasing comfortable, good measured, stable made shoes. Make sure that the difference in slope between the foot front and heel does not exceed 3 cm. It is the best length for your comfort and health.

2

When I need to buy new pair of heels first I make sure that they are (cute) very comfortable and in a good size for me! It’s like with clothes: different store – different sizes = measurements. In the case of shoes it is even more important. You can’t buy them one size bigger and just wear as oversized, right?

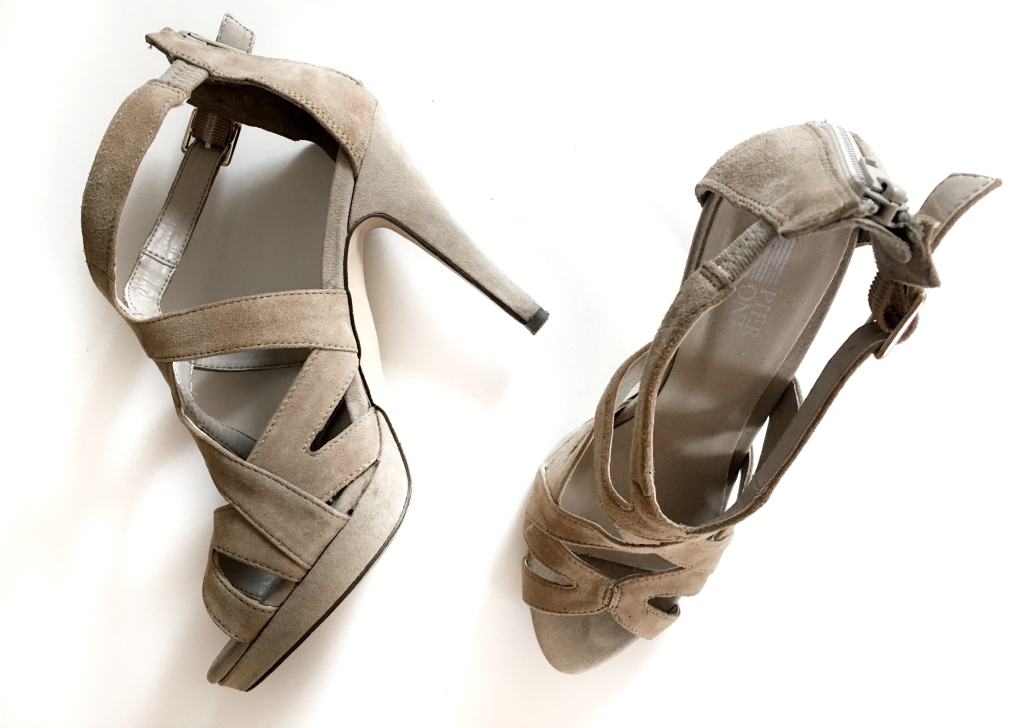
What’s also very important is to always try to walk in heels a decent amount of time (around 10 minutes) in store before purchasing. The first impression, when you put your feet inside is very important too! If you feel like there is something wrong it means it is wrong and better do not to buy them. Trust me. I know “they go perfectly with any outfit and look so damn cute”, but resist and your feet will thank you! I’m guilty of that mistake. Once I was looking for shoes for the wedding and I just couldn’t leave the store without those precious stilettos I fell in love with. Because of that I waste a lot of money and I never wore them once (pain pain pain!!!!)! I was sure “they will get more comfortable for sure! They’re leather! They just need to get used to my feet.” Well… it didn’t happen and instead of those super uncomfortable, gorgeous beige stilettos I had to attend the wedding in my black trusty ballet flats.

1

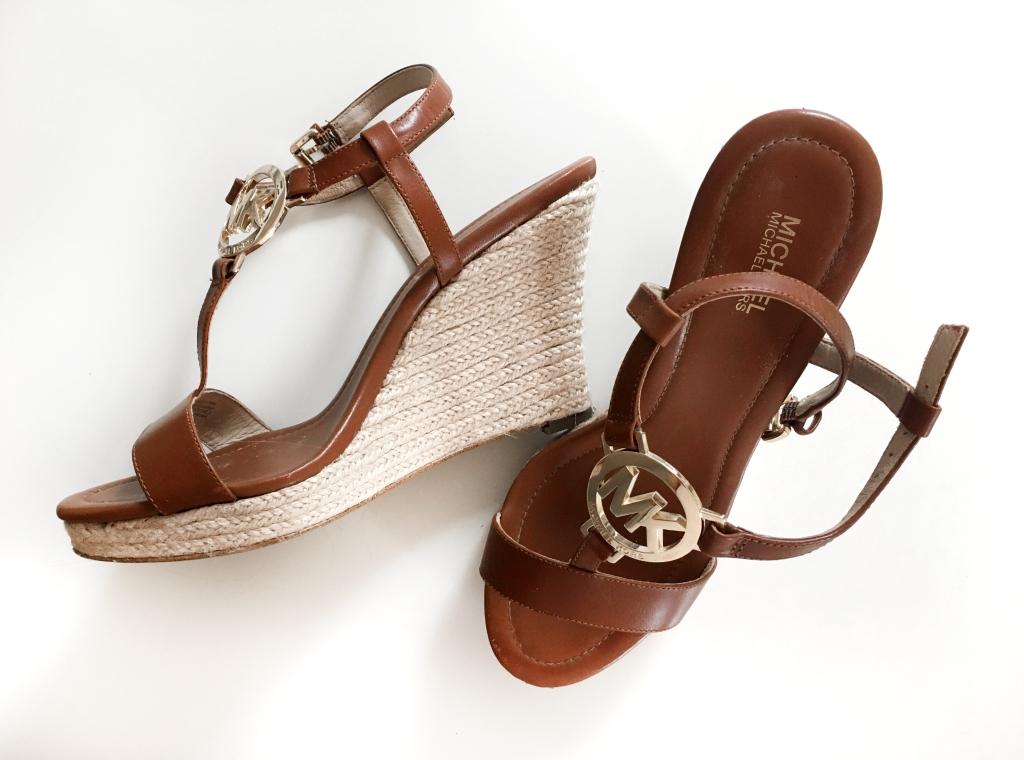
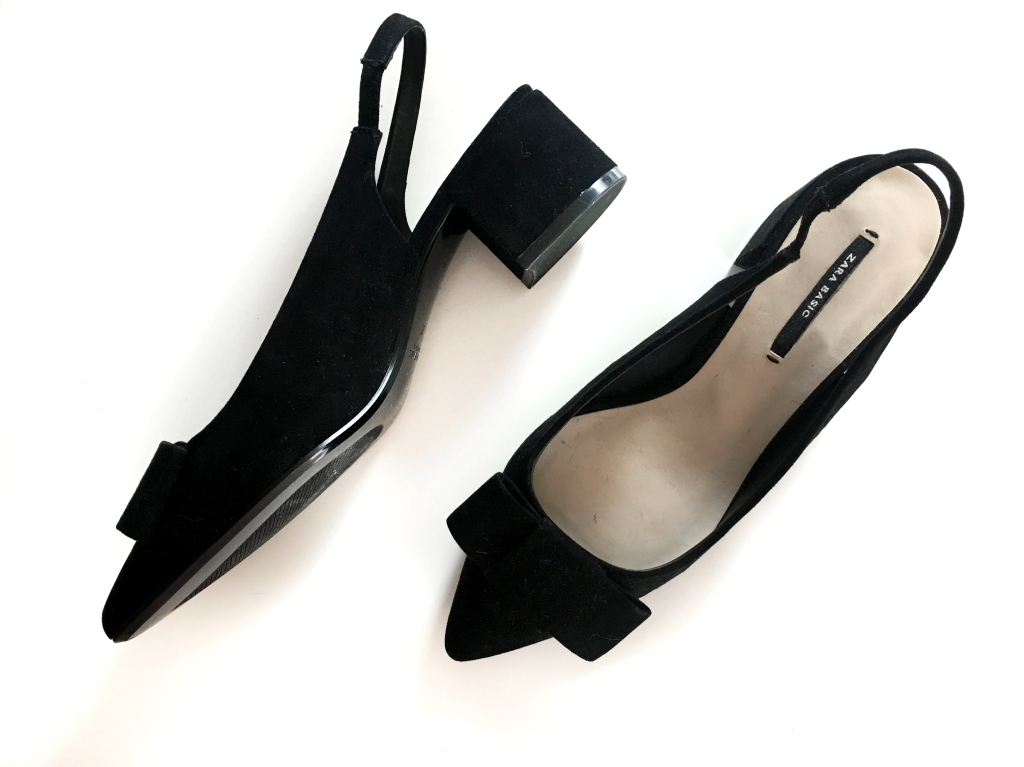
For people who don’t like to wear heels or just can’t but really want to learn perfect way to still add some inches are wedges or chunky heel (so trendy now!). They’re both very stable, super comfortable and great for beginners.

4

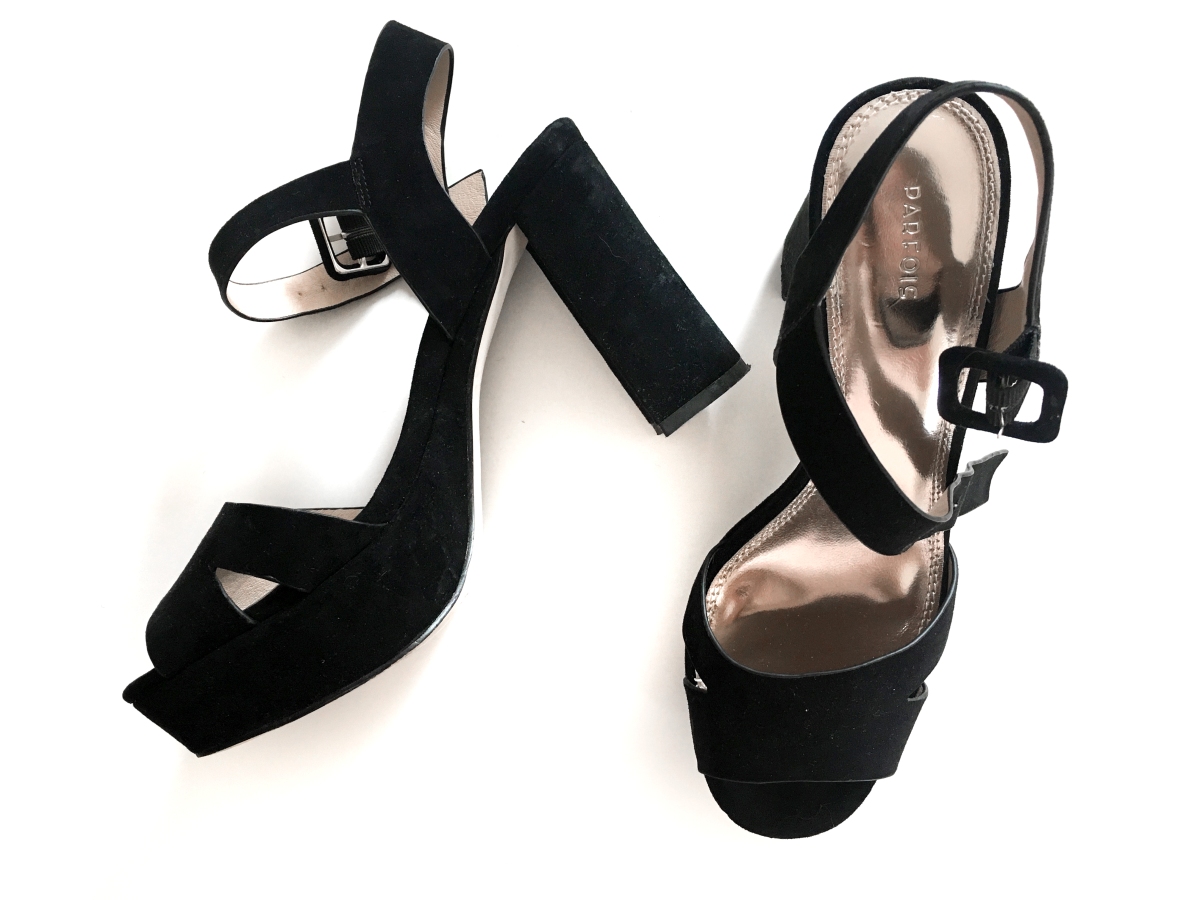
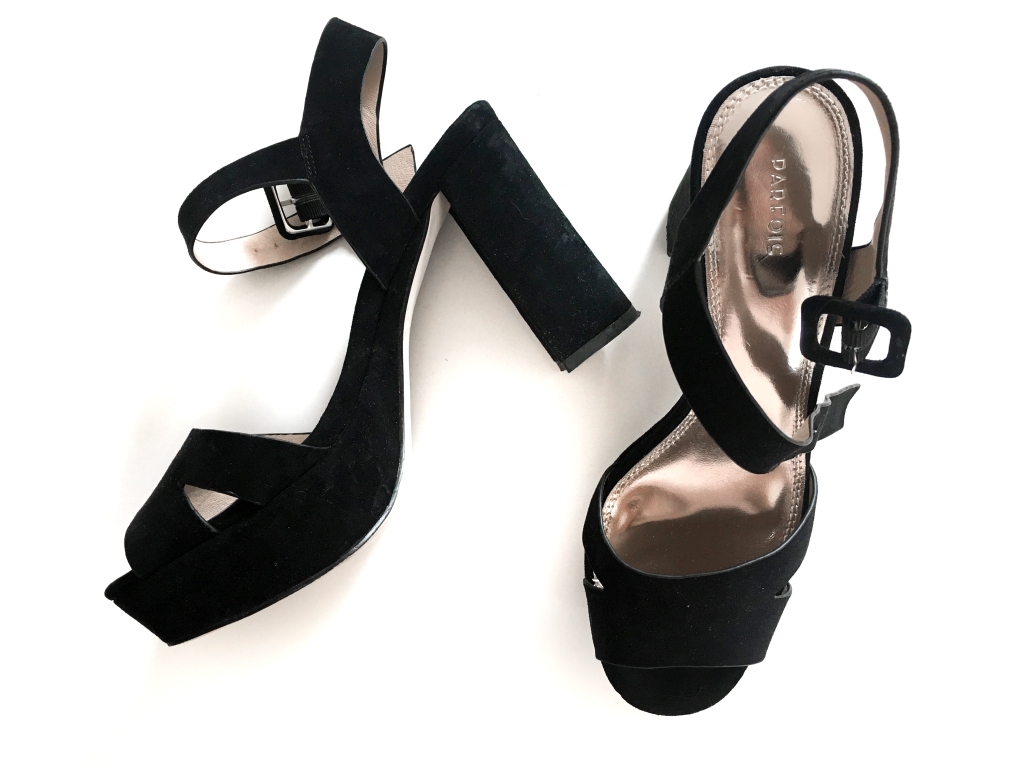
If you’re like me and can’t really walk well in stilettos pick the ones on a platform! It’s amazing how without any loss of height they are so comfortable! I have ones from Parfois (pic above) and I could wear them easily for the whole day without any pain!

3

Great tip that brings a lot of relieve for your feet when you need to wear heels all day long: Wrap with medical tape your 3rd and 4th toe together. That’s all! This trick takes out pressure from your nerve that splits between those two toes that get pressed when you’re in heels, instantly making it easier to walk and reduces the pain! You can also try the whole range of Scholl products made just for high heels wearers. It really helps! I’m a huge fan of those silicone sponges that you put inside the toe section.

So my loves, nothing to worry about! Pick your perfect pair and rock it! Good luck!

xx, Olita

Do you have your go to heels in your shoe collection? Do you have favourite brand? Let me know in the comments! Always looking for comfortable heels!


contact me: instagram|twitter|youtube|pinterest